In this post, I go through how I setup Ghost using DigitalOcean's 'One-Click' install, point a domain purchased through Namecheap at the droplet and finally setup SSL using the ghost CLI.
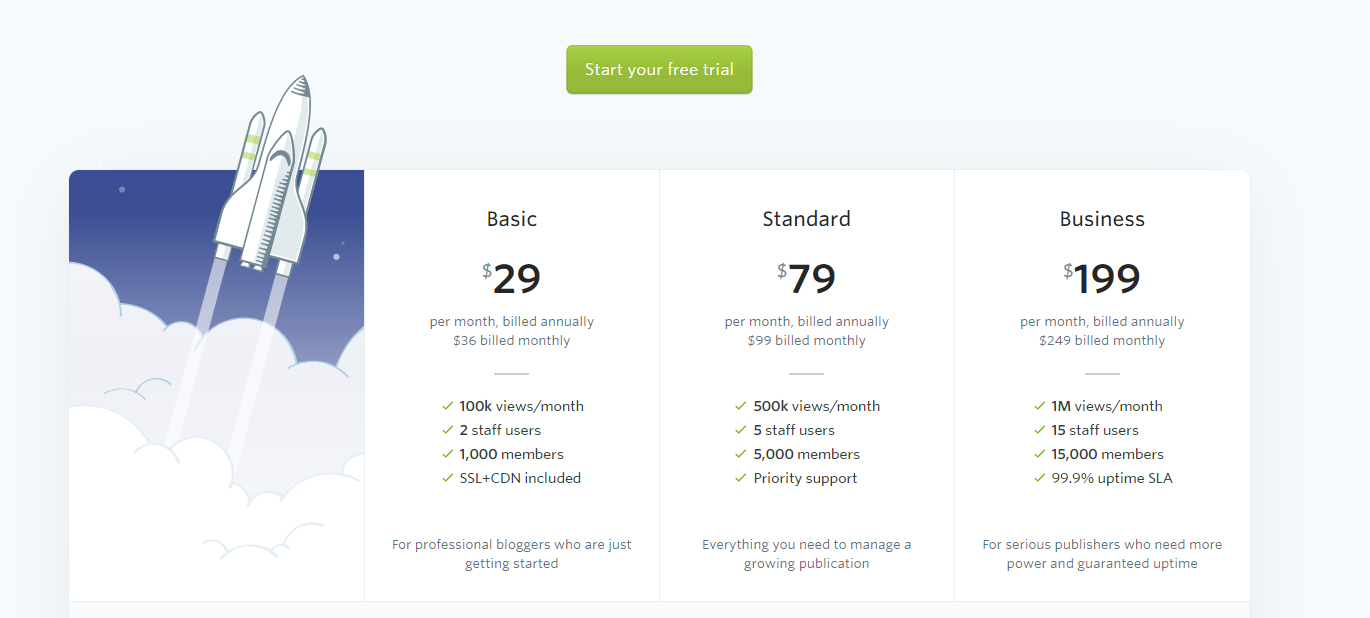
I wanted to use Ghost as the blogging platform but didn't want to shell out $29 per month for the fully managed version:
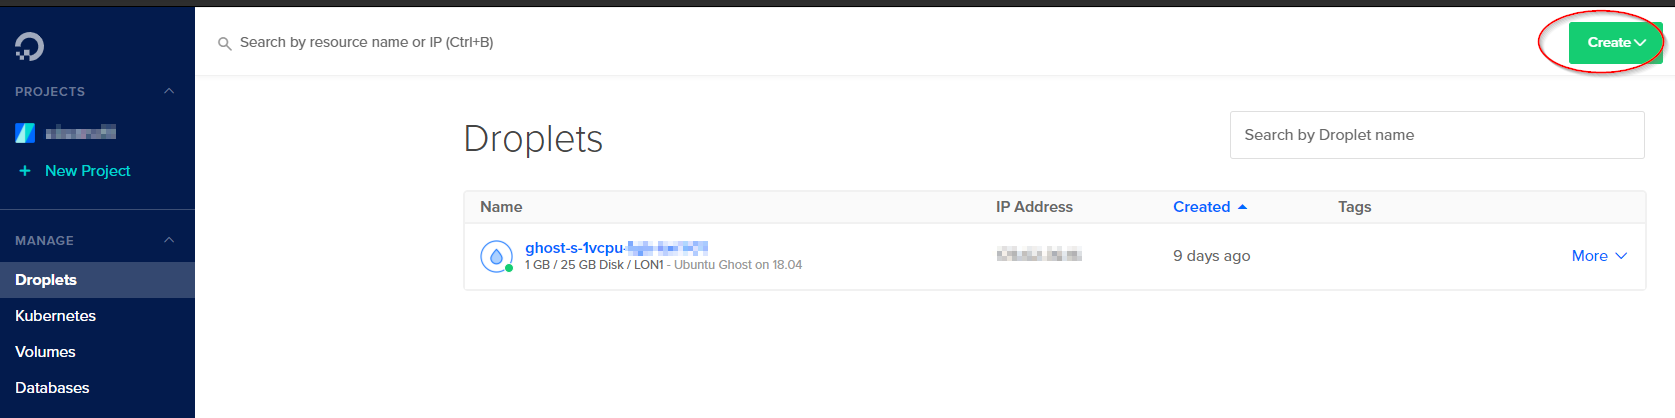
First, you're going to want to register for DigitalOcean and sign in. From there, go to the droplet menu on the left hand side and then click the create button.
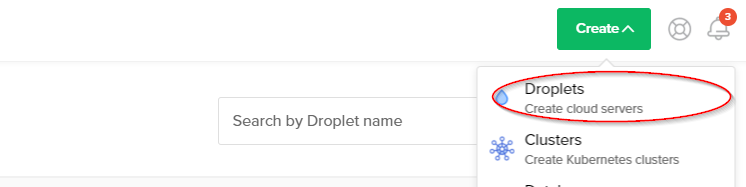
Click on create Droplets
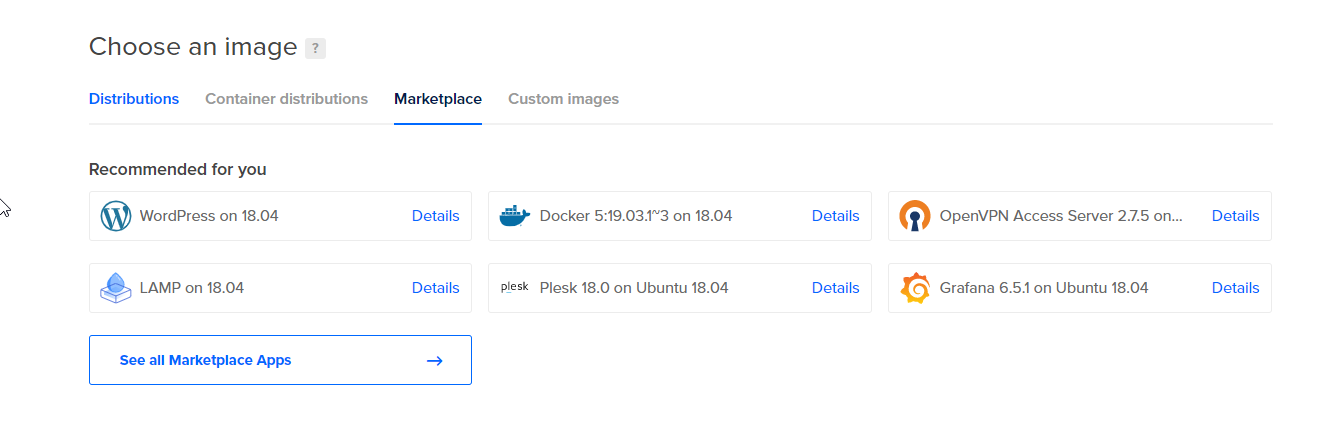
Once in the create Droplet screen, you'll want to go to the marketplace tab and click on 'See all Marketplace Apps'
From here, scroll down until you see the option for Ghost
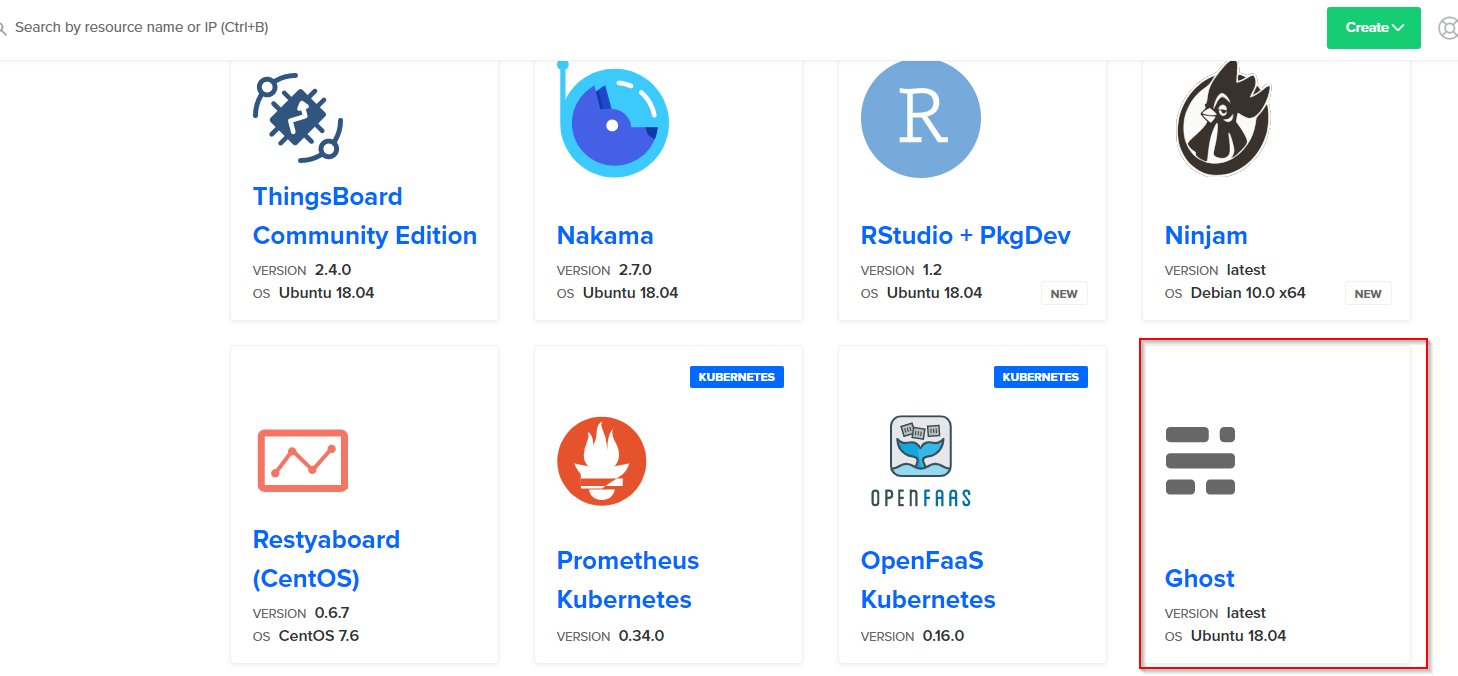
Click on ghost and choose your image, the default plan is $40 a month, but we'll want to select the $5 option.
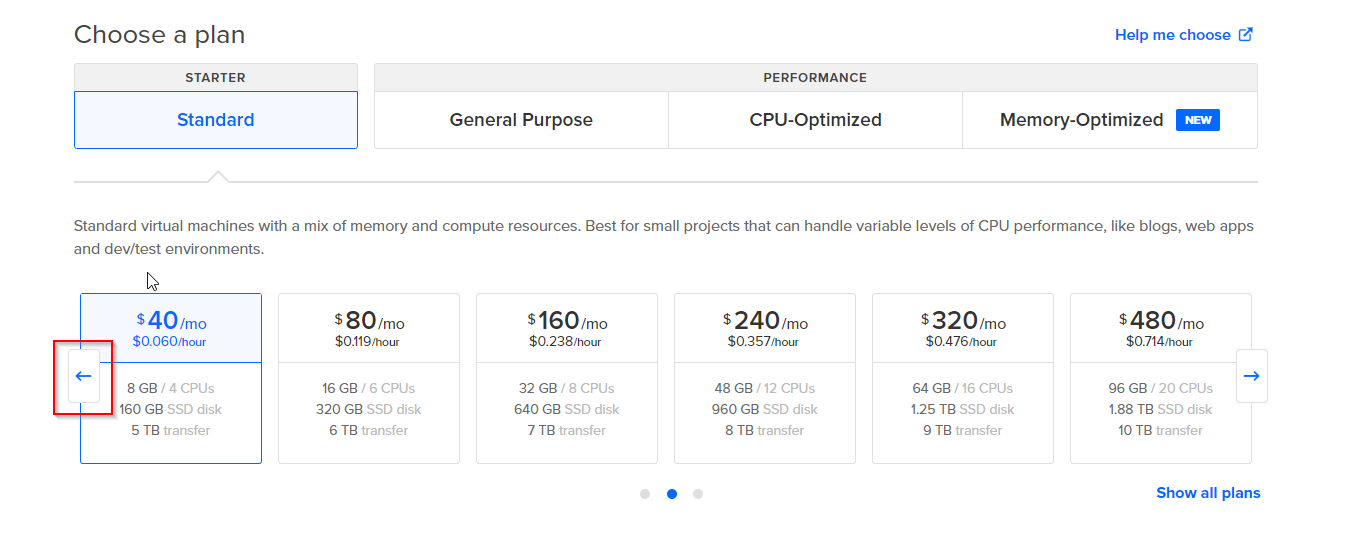
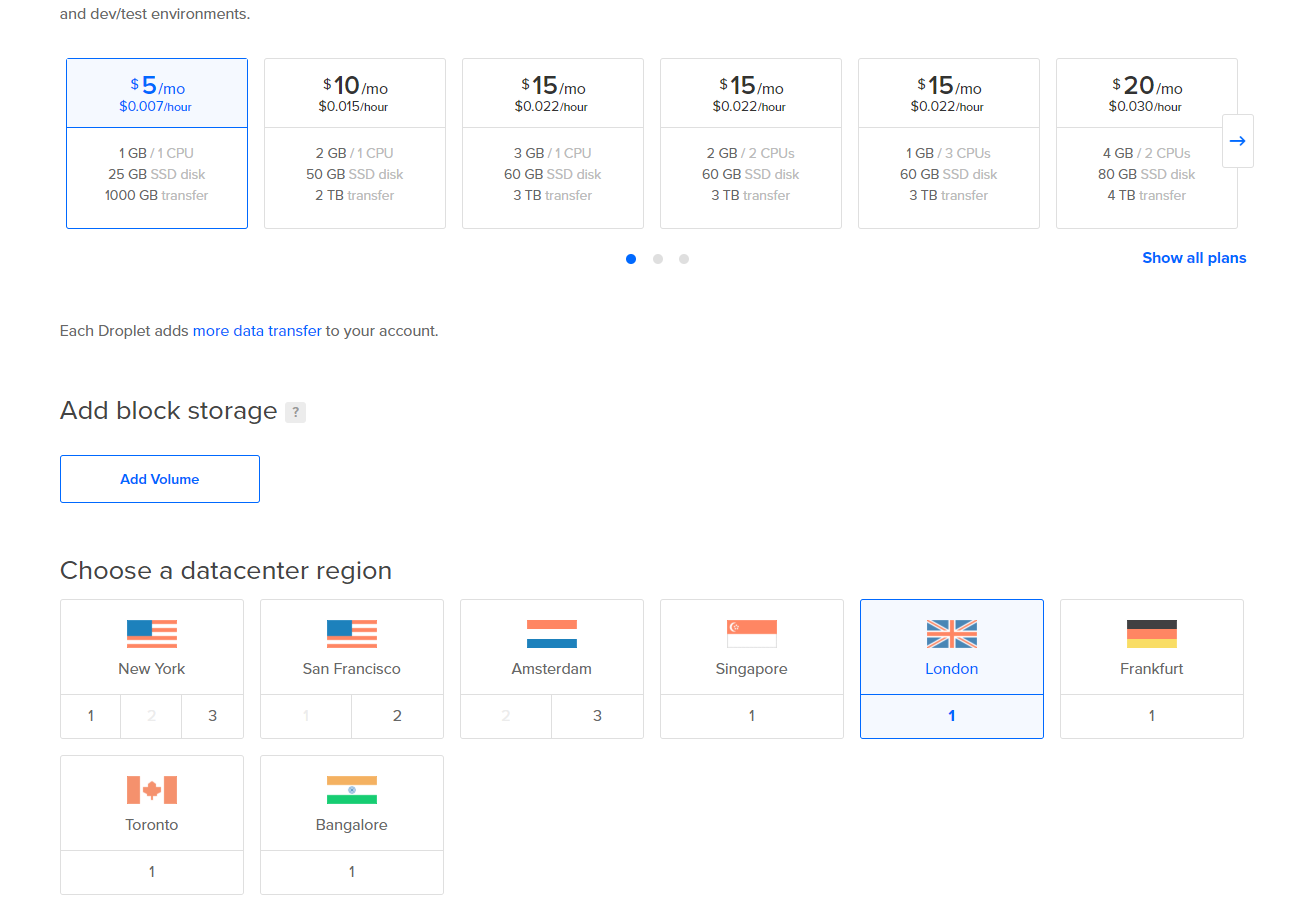
Click on the left arrow to show cheaper options, then select the $5 per month option. You'll also want to select the datacenter region. I chose London as I'm based in Ireland. Choose one that you feel best serves you and your audience.
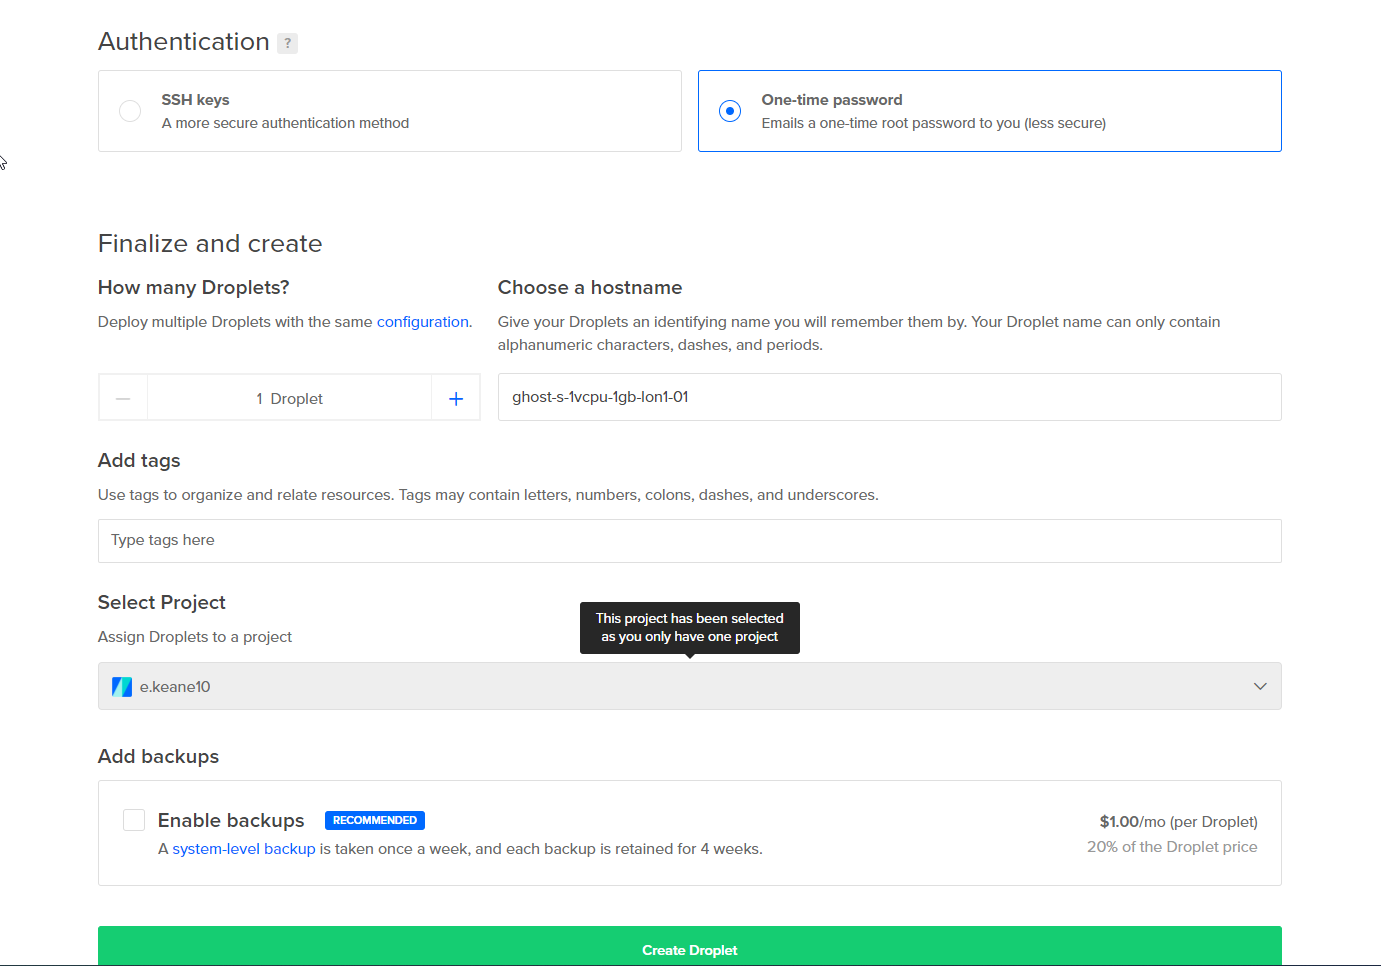
Choose authentication method (I used the one-time password) along with a name for your droplet (I just left it as default).
You can also choose to enable weekly backups for $1 per month. I didn't bother with this option. It's up to you if you want to do this.
Finally, click 'Create Droplet'
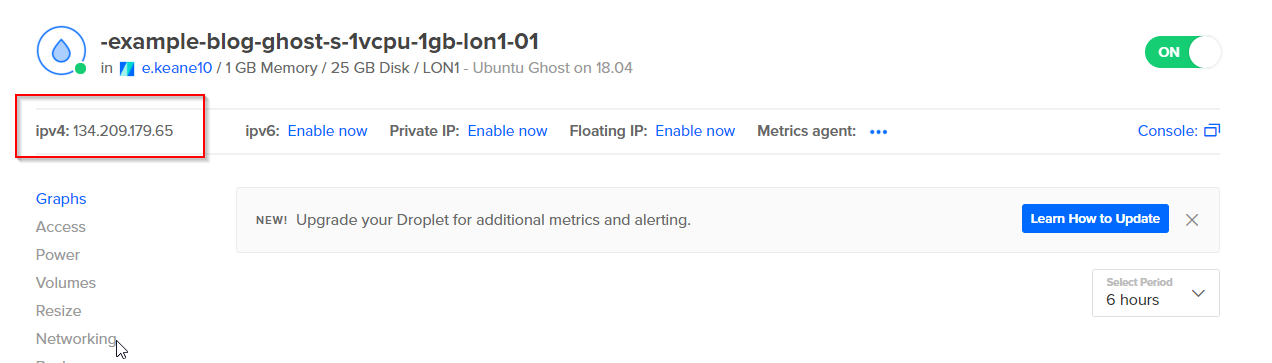
DigitalOcean will then go and spin up the instance. You should be able to navigate to the IP address assigned to the droplet at this stage. Click on the newly created droplet to find it's IP address.
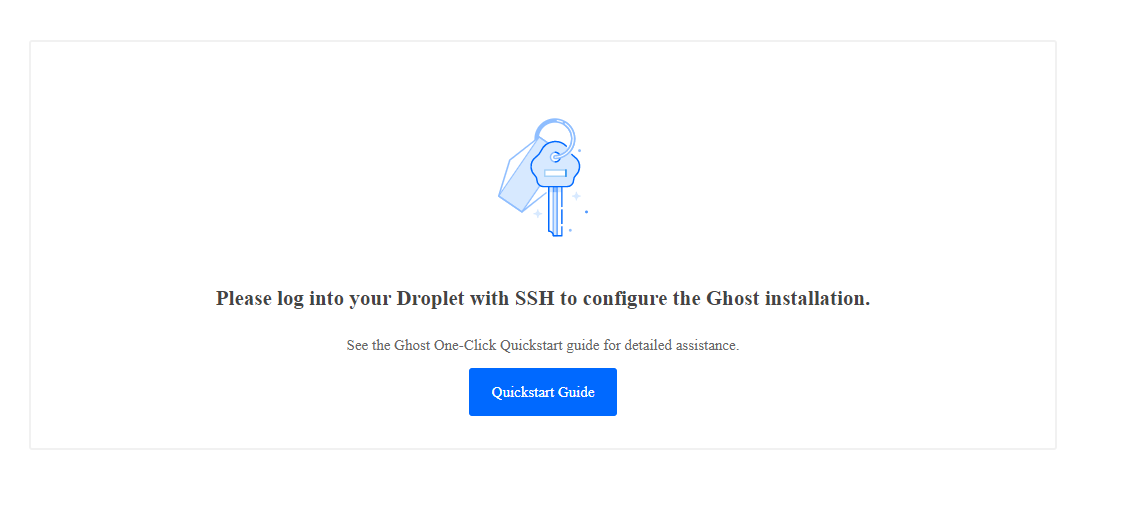
If you copy and paste this URL into your browser you'll be met with this message prompting you to finish the ghost installation by logging in using SSH.
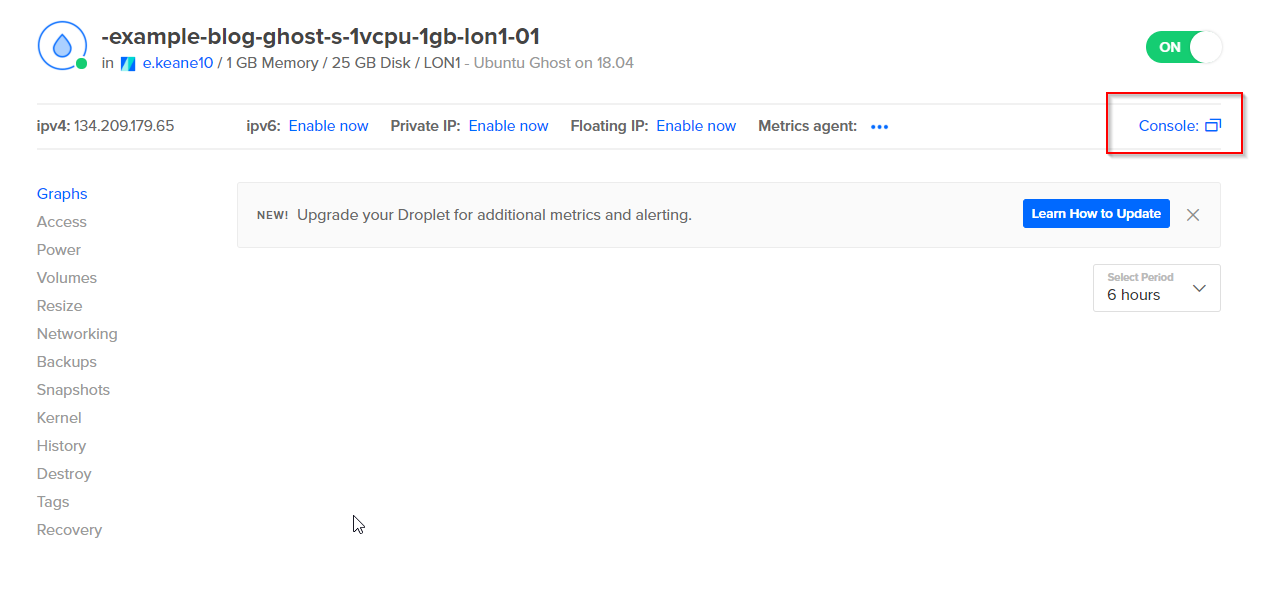
Click on the console button to use DigitalOcean's console.
From here you can login to your droplet using the credentials that were emailed you.
Use root as the username
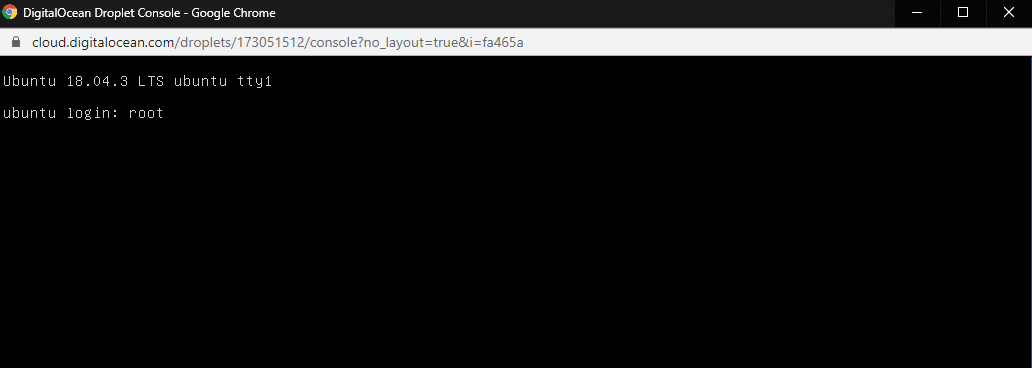
Use the password that was emailed to you also. You can copy and paste it into the console but it won't show up.
You'll also have to change the password the first time logging in.

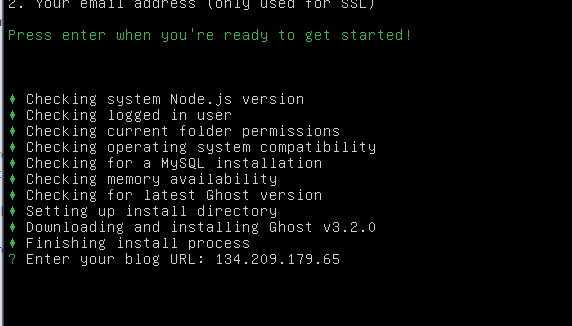
This will kickoff the ghost installation.
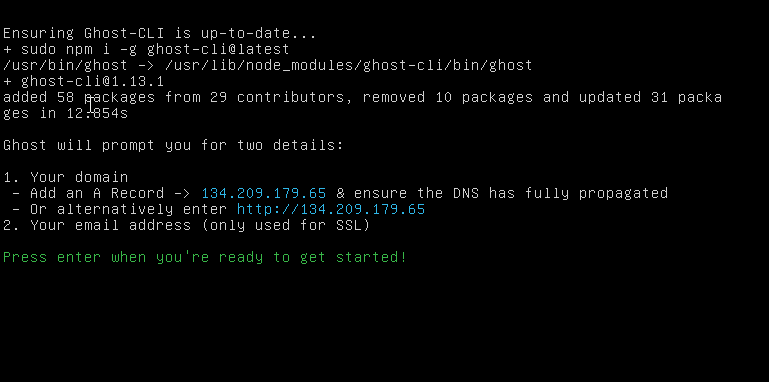
In this example, I won't setup SSL or a custom domain just yet. I'll go through how that can be done later using the Ghost CLI. For now, we can just use the IP address of the droplet for the blog URL.
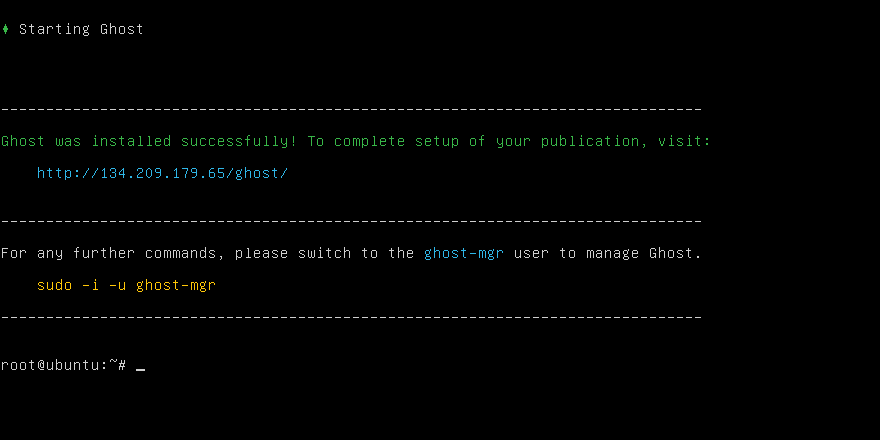
If the installation was successful , you'll be met with a message like this in the console:
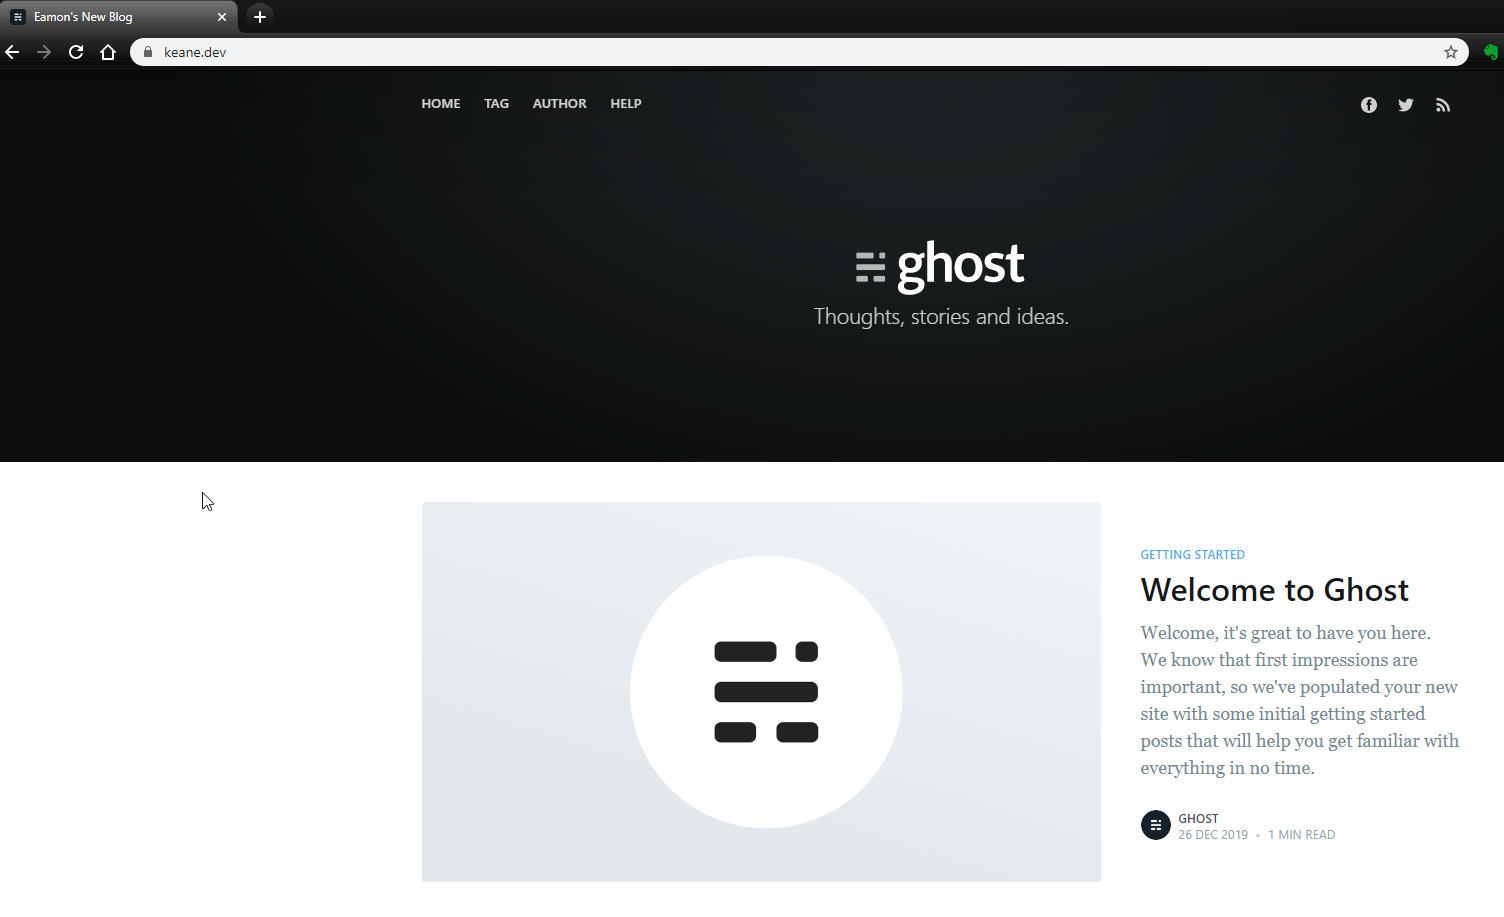
If we navigate to dropletURL/ghost as shown in the console we'll be greeted with a new 'Welcome to Ghost' screen. From here we can create a new ghost account that will be used for managing the blog!

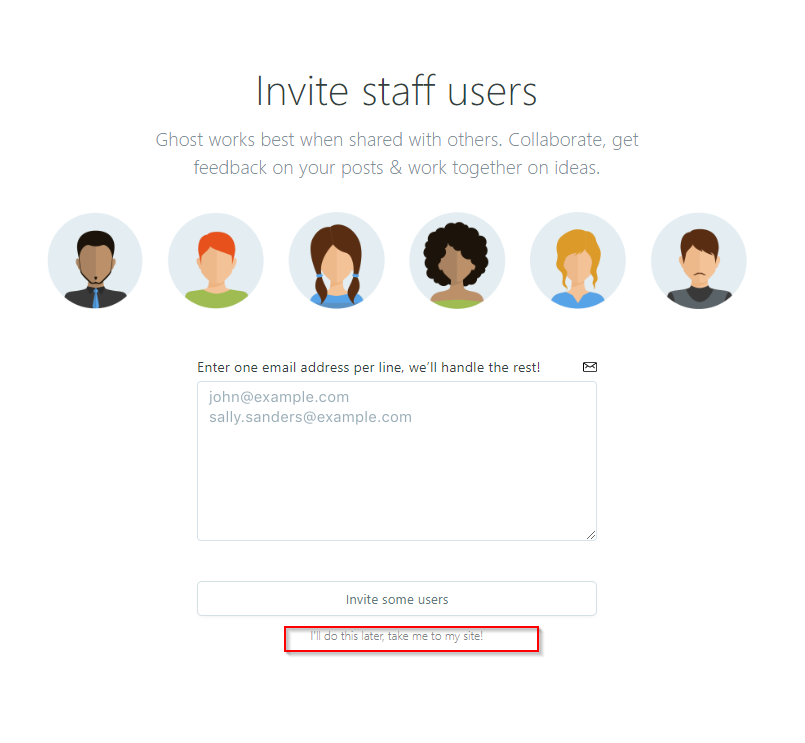
It'll ask you if you want to invite staff users to the blog. Skip for now, they can be added later if needs be.
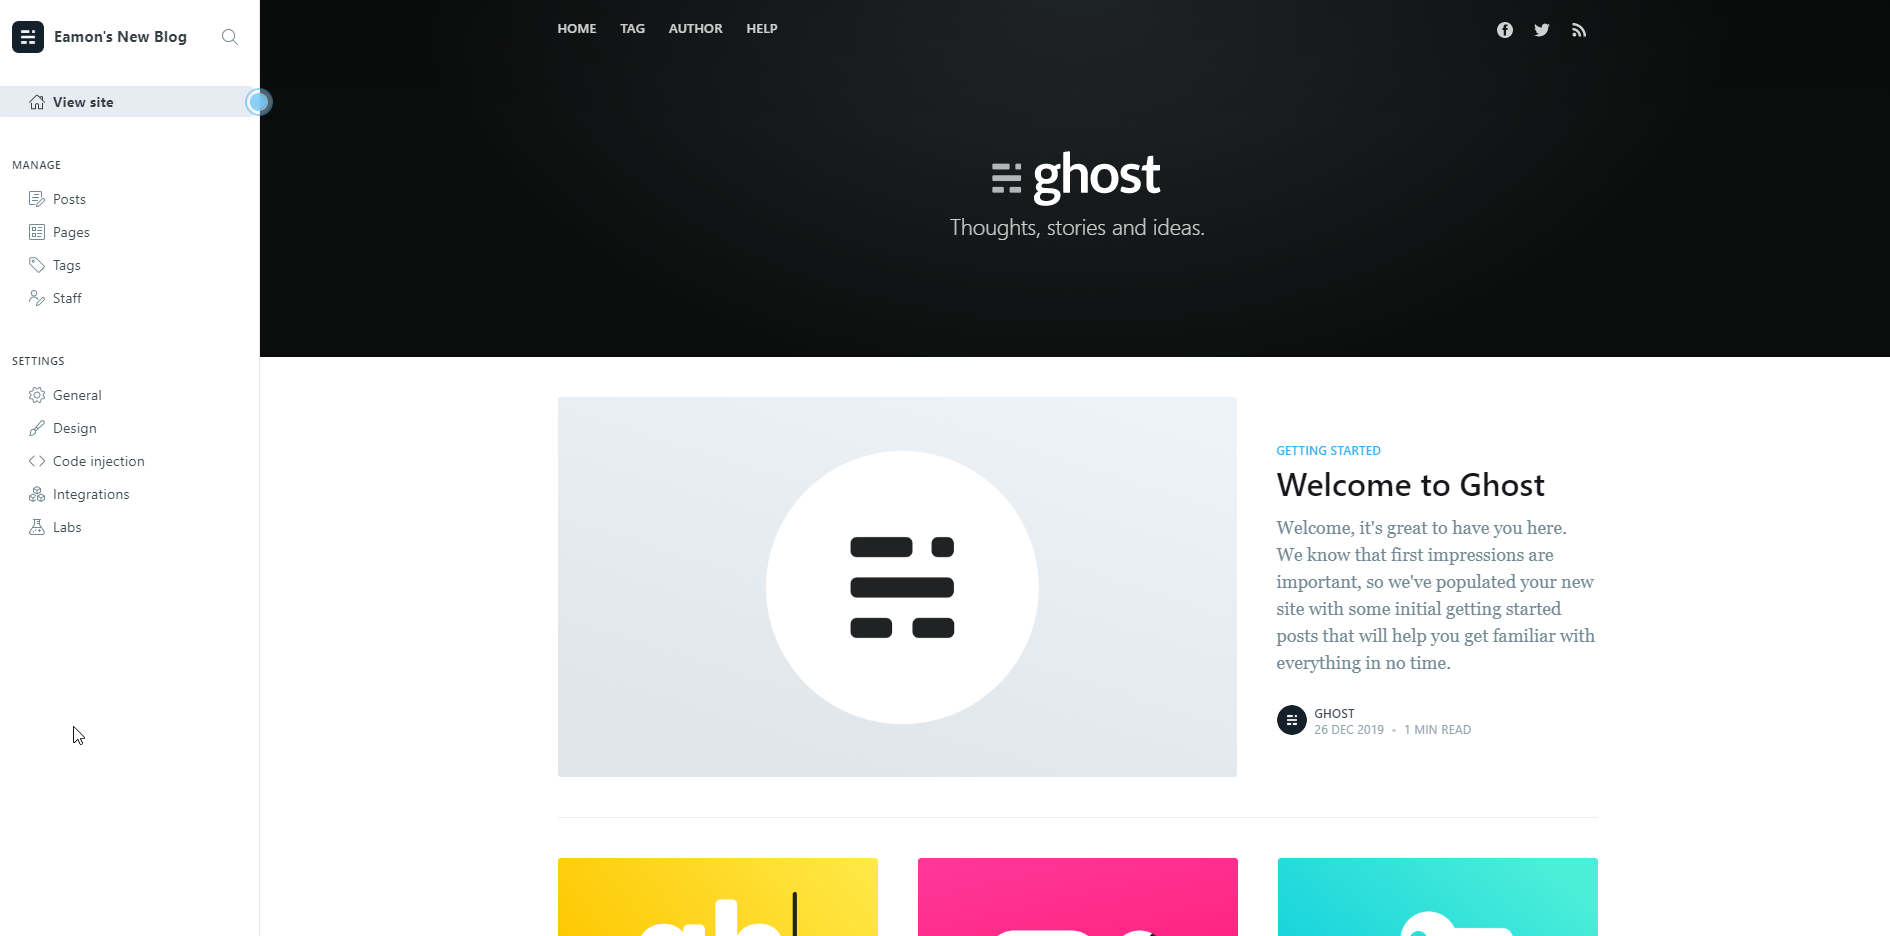
Once you complete this, that should be that. You can visit the site by going to http://YOUR_DROPLET_IP or visit the admin section by going to http://YOUR_DROPLET_IP/admin
Pointing a custom domain purchased through Namecheap at a Ghost Droplet
For this next part, I'll go through how you can point a custom domain at your new blog.
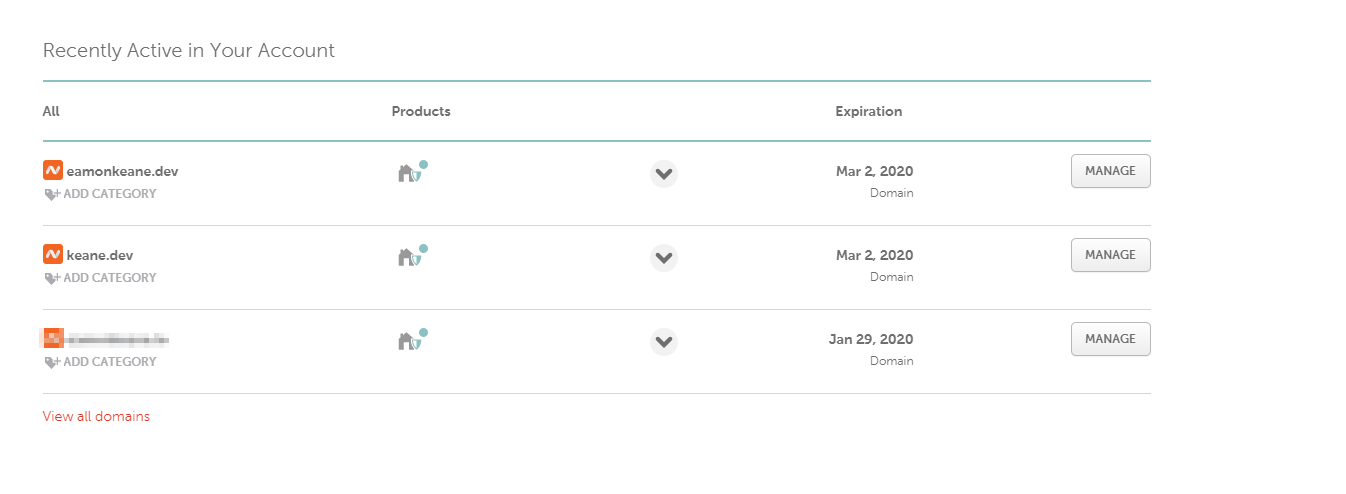
First, you're going to want to purchase a new domain through Namecheap. Then navigate to your dashboard and click 'Manage' beside the domain you wish to use. For this example I'm going to use htttp://keane.dev . Note that I haven't purchased any SSL for this domain. The Ghost CLI will take care of that later.
We'll use DigitalOecan's nameservers instead of Namecheap's. To do this, we're going to want to add 3 custom DNS servers to our domain. Specifically, the three nameservers for DigitalOcean:
ns1.digitalocean.com
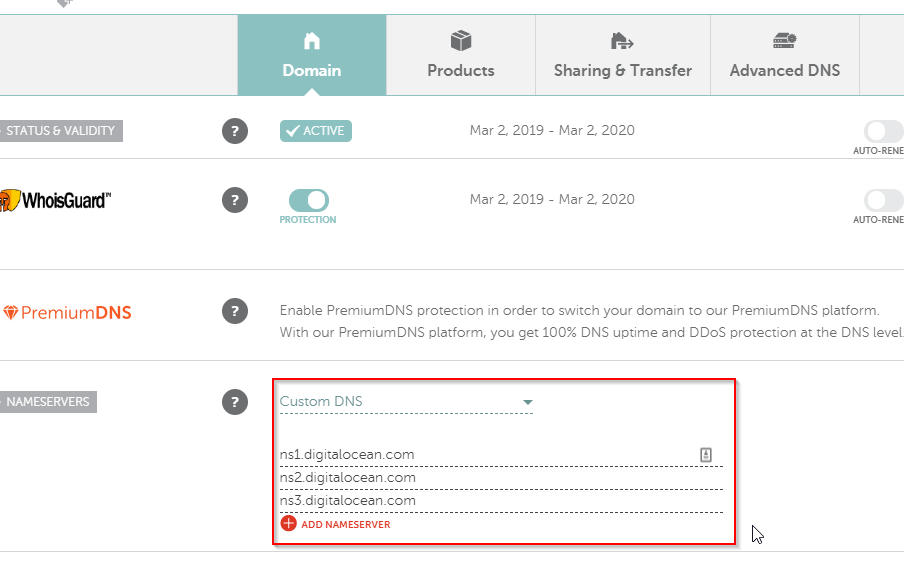
By doing this, we will now be able to manage the domain from our DigitalOcean control panel.
NOTE: It may take up to 48 hours for DNS propagation. However, I've seen it happen as quickly in 30 minutes from my testing.
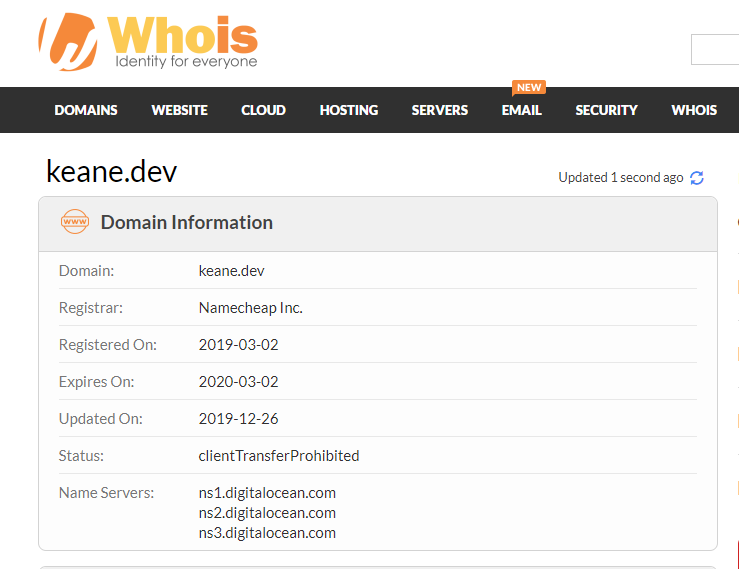
To check if DNS propagation has happened successfully you can use whois.com to see if the nameservers have been updated to DigitalOcean's.
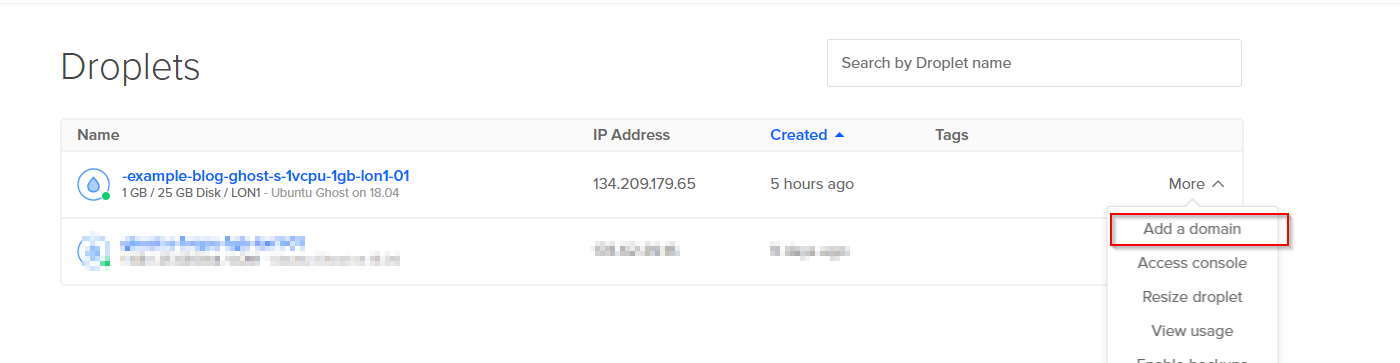
Go back to the DigitalOcean admin panel and click on Droplets. From here, click on 'More' and 'Add a domain' for the droplet on which Ghost is installed.
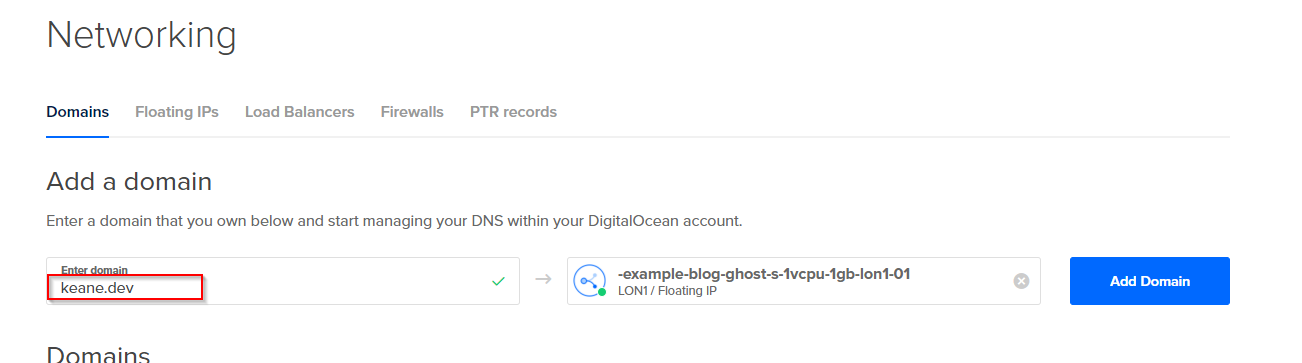
We'll want to enter the custom domain we purchased from NameCheap next.
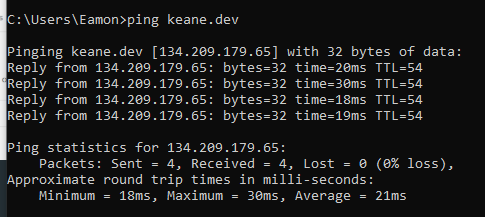
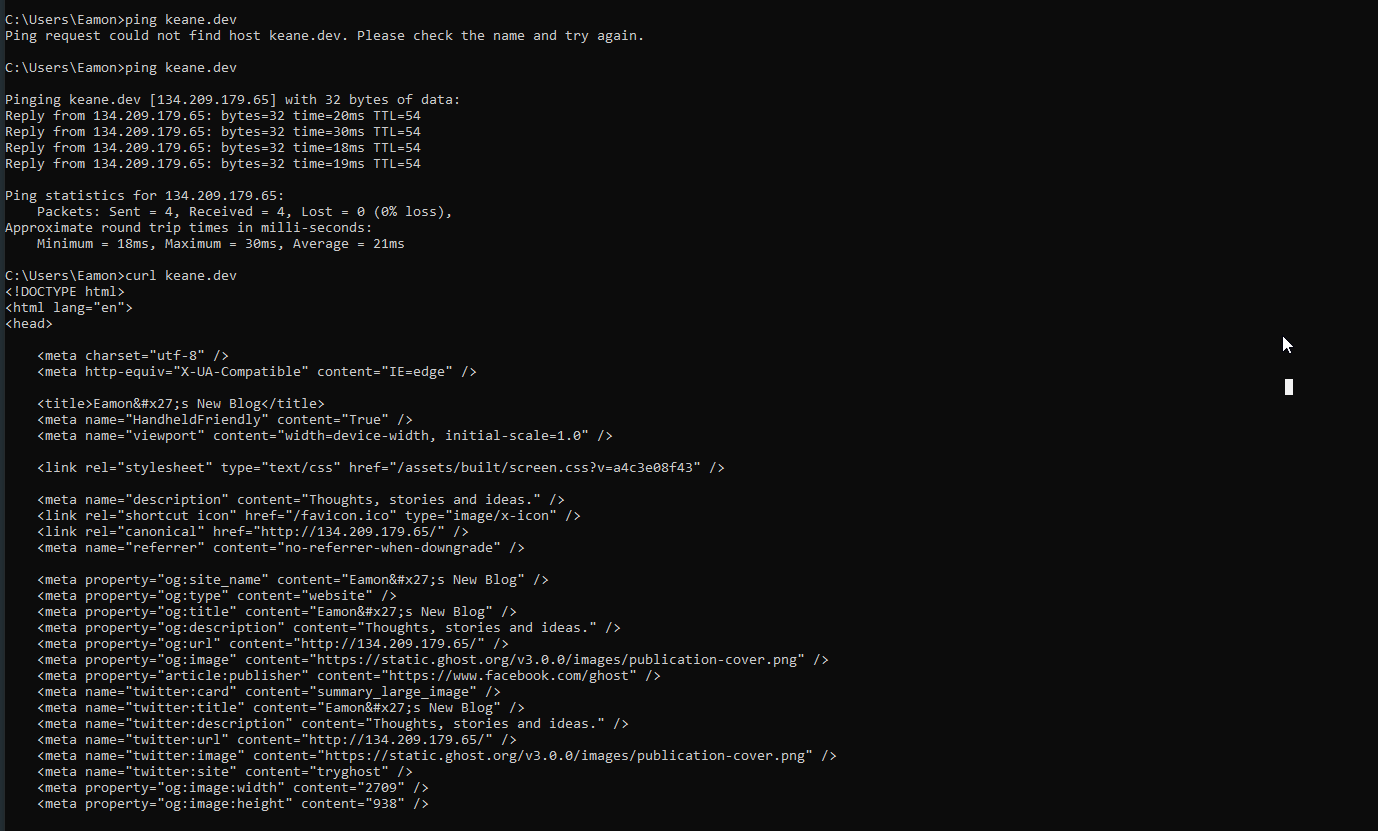
Once this is done, we'll be able to use windows command prompt or equivalent to ping our domain and ensure that it is pointing at the correct IP address (The droplet IP)
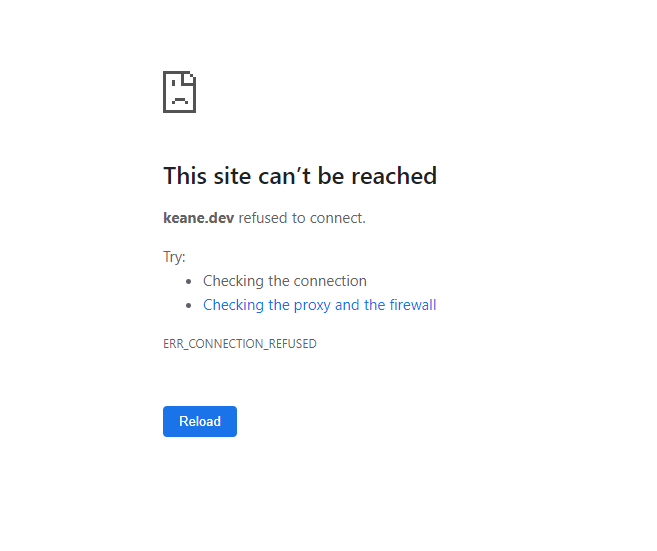
What happens if we try to navigate to the custom domain now? .dev domains need to be served over HTTPs. The browser won't allow me to view the blog.
How can we test this ? If we use the command 'curl keane.dev' we see that it returns the page.
We can now move onto the final step. Configuring our custom domain for the blog and adding an SSL certification using the Ghost CLI
To start, let's add the custom domain using the ghost CLI. We'll use the DigitalOcean console again and login as the ghost-mgr user.
Use the command 'ghost config url https://YOURDOMAIN' and then press return.

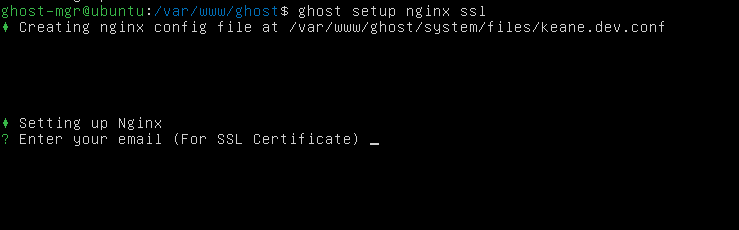
We'll want to setup Nginx and SSL next. Use this command:
'ghost setup nginx ssl'
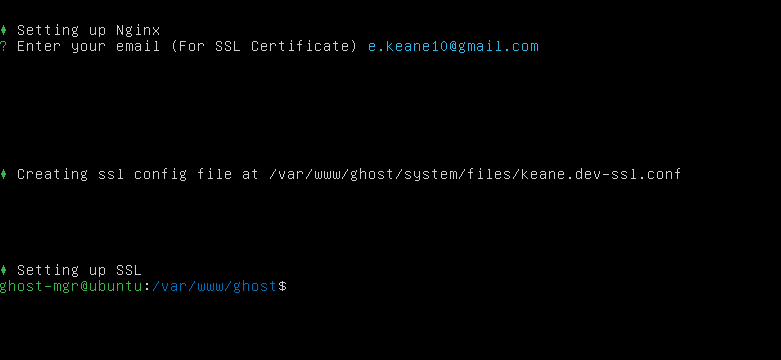
Enter your email for the SSL certificate and press return.
Once this completes, you'll see this message:
That's it! Now go the your domain using the browser and admire your new blog configured with a custom domain and SSL !
If you have questions on any of this, just drop me a comment or reach out to me through one of my other social channels.
Eamon


Comments